
Author Quick Start
Create Calculator: Quick Start
Some introductory knowledge of Python is a prerequisite to create a calculator in qCalc. You will need a basic grasp of functions and conditional logic to map out the calculation workflow. However, knowing the basics of operators and variables is more than enough to get your first script running.
1. Create calculator using mycal
Build your own calculator with mycal directly in the browser. mycal itself is a 'calculator' so you can add
it from the [Add Calculator] option from the secondary sidebar.
The mycal interface provides the tools you need to create and manage your own calculators.
Enter your calculator code and use the available options
to check, format, validate, save, and manage your work.
mycal is a mini application within qCalc that provides a Python code editor with syntax
highlighting. It includes a syntax checker, code formatter, and code tester/validator.
Your code can be saved only after it has passed syntax checking and validation. Once saved,
you can also run and test your calculator.
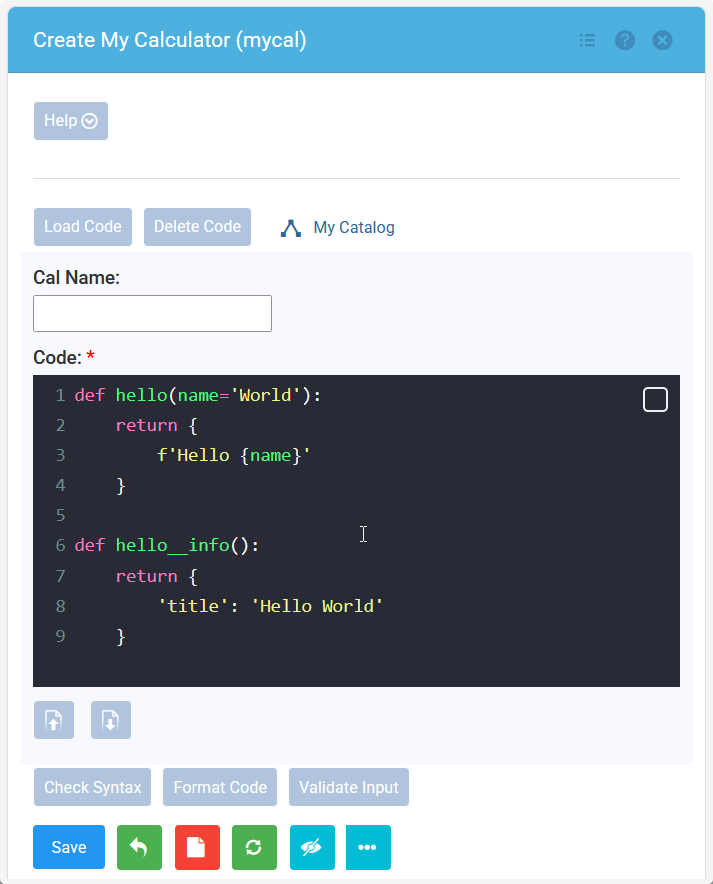
mycal calculator creation user interface
When you open mycal it may have some default code or code remembered from previous run in it .
Click on the red blank page icon to clear the code window and start writing new code.
2. Hello World
Code snippet below creates a simple qCalc calculator. It prompts the user to enter a name. When [Calculate] button is pressed, the function returns a greeting, which is displayed in a textbox.
You define the function; qCalc creates the user interface. Its Function-to-Form engine takes care of the rest automatically.
Simply copy and paste the code in mycal. Click on [Check Syntax] and then [Save].
Click on [Open hello] button (it will appear only after saving) to run your calculator.
def hello(name='World'):
    return {
        f'Hello {name}'
    }

def hello__info():
    return {
        'title': 'Hello World'
    }
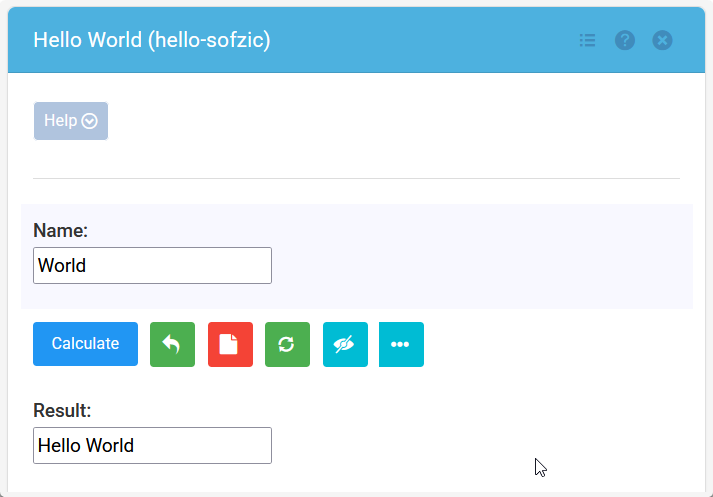
Running your first calculator
The code above follows a simple qCalc function + metadata structure:
2.1. The calculator function
def hello(name='World'):
hello() is the actual calculator function.
It defines the inputs, processing, and output of the calculator.
nameis an input field.'World'is its default value.- The function returns the greeting.
With qCalc, you can focus entirely on your data and processing while the platform automatically designs and displays the form. By removing the burden of manual interface development, qCalc lets you write the core logic instead of spending hours building UI components.
2.2. The __info() function
def hello__info():
The __info() function is a special qCalc function associated with hello().
The double underscore naming convention tells qCalc that this function contains
metadata describing the calculator, rather than calculator logic.
For example:
{
    'title': 'Hello World'
}
the key title provides the calculator's title. qCalc's Function-to-Form engine
reads this metadata and uses it to construct and configure the user interface.
The important distinction is:
hello()defines what the calculator does;hello__info()tells qCalc how the calculator should be presented and configured.
As the calculator becomes more sophisticated, __info() can contain additional metadata
for things such as form labels, validation, help text, layout, and other UI/behavioral settings.
This separation is one of the key ideas behind qCalc: you define the function, and qCalc automatically builds the form around it.
3. Add Two Lengths
def addlen(x='7 ft', y='8 m'):
    z = Qty(x)+Qty(y)
    return z


def addlen__info():
    return {
        'title': 'Add Two Lengths'
    }
This calculator adds two lengths, even though the inputs use different units.
The important part of the example is Qty():
z = Qty(x) + Qty(y)
Qty() converts a value such as '7 ft' or '8 m' into a qCalc quantity.
A quantity contains both a numeric value and its unit, so qCalc can check that the
values are compatible and perform the conversion needed for the addition.
The result is another quantity representing the combined length.
Without Qty(), x and y are just Python strings. Python cannot add those strings
as lengths, because it does not know what ft and m mean. Qty() gives qCalc the
unit information needed to treat them as measurements instead.
The default values are therefore two different ways of writing a length:
x='7 ft'provides seven feet.y='8 m'provides eight metres.
When you run the calculator, qCalc builds unit-aware input fields from x and y.
So user can enter other lengths easily from the available units of length. It sends the
entered values to addlen(), and displays z as the result. Try changing either
value, or enter compatible units such as 12 inch and 2 yd.
The same pattern can be used for other unit-aware calculations:
a) turn input values into quantities with Qty(), b) perform the calculation,
and c) return the quantity.
addlen comes as a default code in mycal, so you can click on Refresh icon
(green button with circular arrows) to get this default code. Alternatively, you can copy/paste as well.
Then click on [Check Syntax], [Save] and finally [Open addlen] to run it.
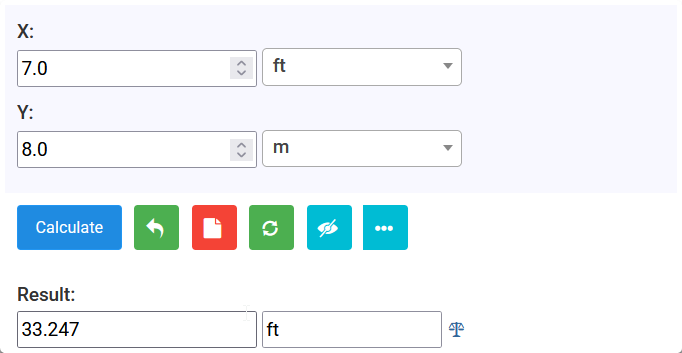
addlen calculator user interface
The qCalc result section highlights your final output in a unique layout. Simply click the Scale icon to open a unit conversion tool pre-loaded with your result, allowing you to instantly convert the value to another length.
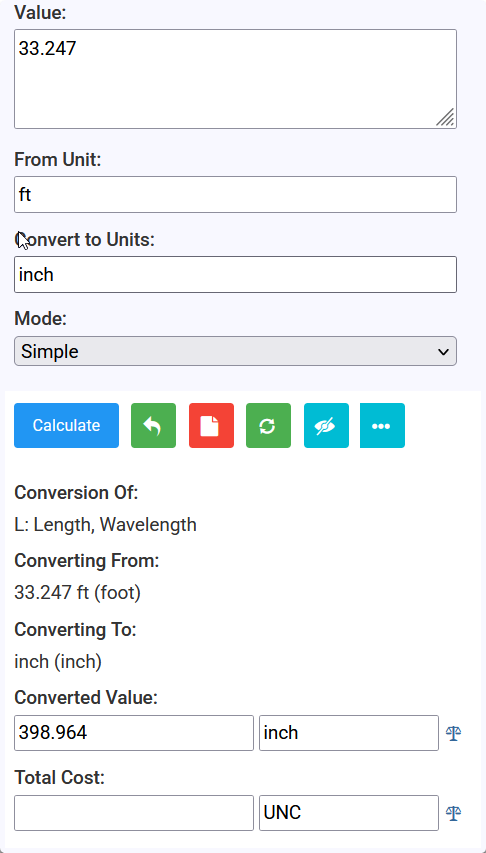
Clicking on Scale icon opens up the unit converter
For more information and examples on
Qty(), see the Quantity Reference. For further details about authoring qCalc calculator, see qCalc Author's Guide